To help my son celebrate his second birthday, my wife and I picked his favorite television show, Daniel Tiger’s Neighborhood as a theme. To bring the experience party to life, I thought it might be fun to build him his own trolley — the magical Uber-like transportation service that gets the show’s characters around town.
Here’s what it looks like on the show:

Rather than build the entire thing from scratch, I ordered the Radio Flyer All-Terrain Pathfinder Wagon Ride On from Amazon, which would provide both the seating and wheels necessary to ensure the trolley was stable, functional, and safe.
The game plan? Build a wooden cage and mount painted foam core pieces to it, then sit the entire structure on top of the wagon. It started with a really, really jenky sketch:
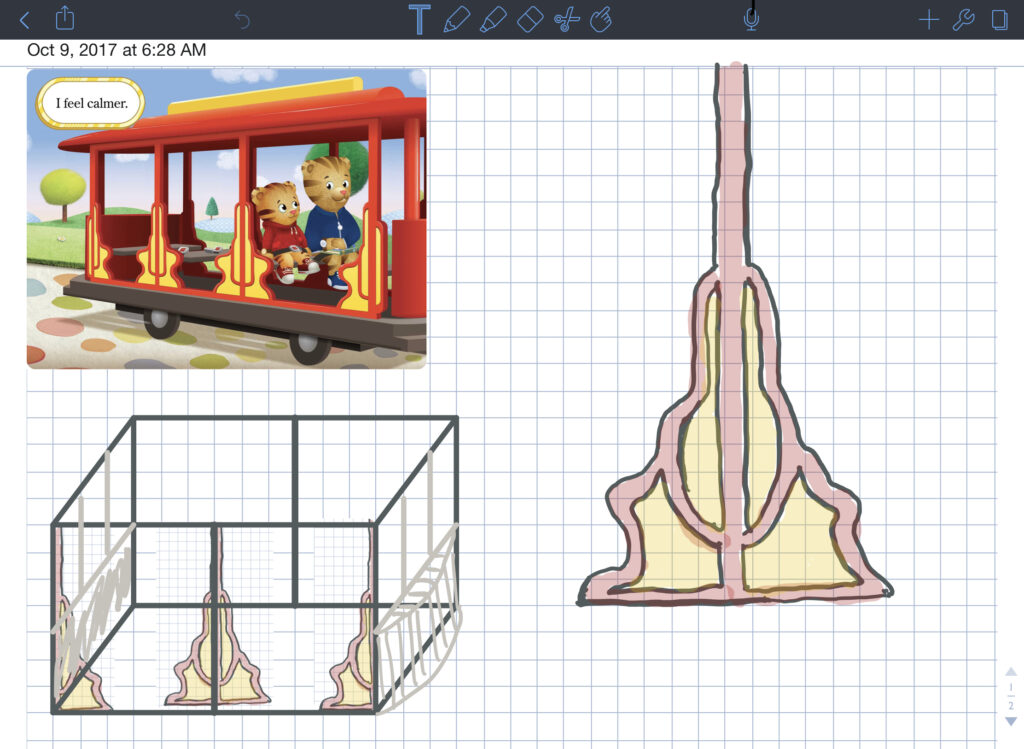
I’ve got to say, as clumsy as that sketch was, the ability to get my idea on the page so quickly was really helpful in not losing the idea to inertia. I swear by my iPad Pro, Apple Pencil, and the Notability app.
I used low-cost 1/2-inch trim wood from Home Depot to construct the frame, and wood glue and a smattering of screws to assemble it. Since this was just a project for my kid(s) that I knew would be forgotten in just a few weeks, I tried to remind myself that it needn’t be perfect. My craftsmanship was not going to be judged, so I focused on making it safe and making it quick.
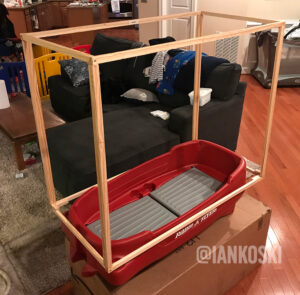 The inner wood “cage,” sitting on the Radio Flyer.
I hand-drew one of the side panels on a sheet of foam core, then cut it out with a box-cutter. (I’d have used an Xacto knife if I’d had one in the house at the time.) For the center side panels, I would outline the template once then flip it over and outline the mirror image. After cutting them out, I painted the interior side solid red and exterior side mostly yellow. (I used the most basic craft paint I could find at a local craft store.)
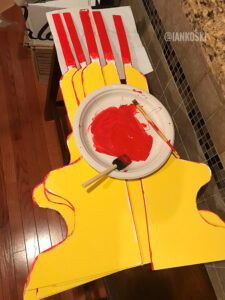 The panels for the side of Daniel Tiger’s trolley being painted yellow and red.
After painting the wooden cage red, I cut out a roof/ceiling to sit atop the cage, and quickly assembled a rectangular box to be painted yellow to decorate the roof.
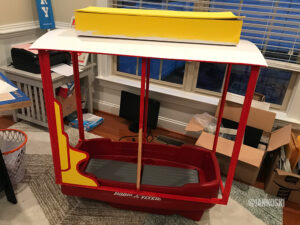 The trolley with its roof and side panels being added.
After finishing the paint job on the side panels, I mounted them with hot glue. I had to accept that putting so much paint on the foam core surface would lead to some warping, which would ultimately lead to some gaps between pieces. Again, it didn’t need to be perfect, just good enough to make my son’s eyes light up and then have fun with it for a couple of days!
I finished up by cutting front and back panels, painting them solid red, and mounting them. I also cut four equally sized circles, hot-glued them together, and painted it yellow to serve as the front headlight.
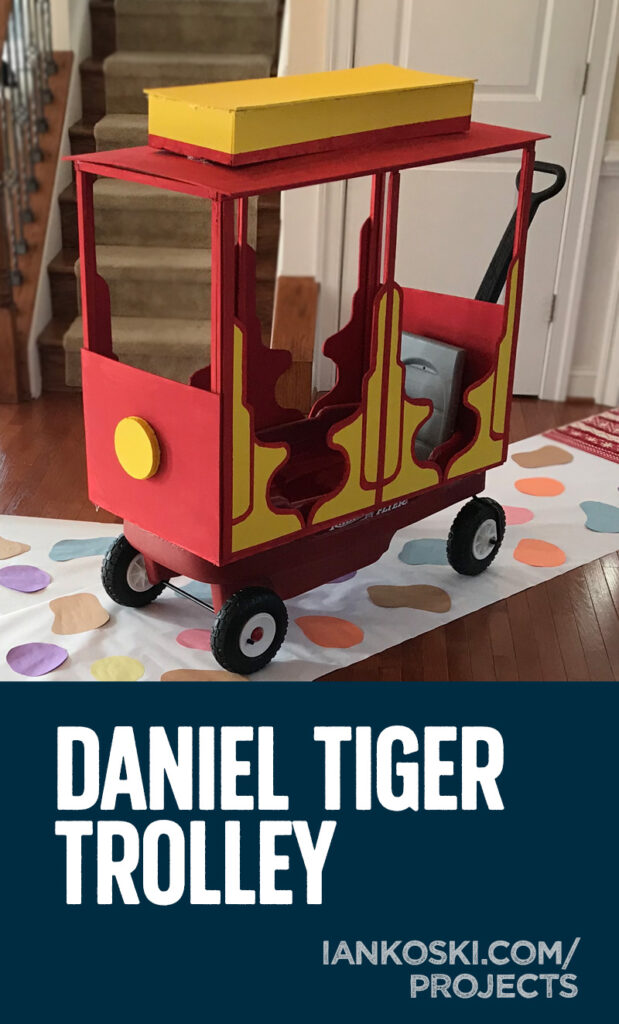
After considerable paint touch-ups, the trolley was done!
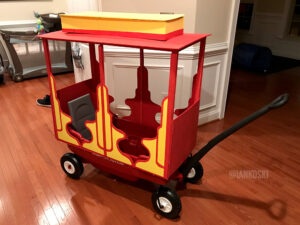 The fully-built trolley from Daniel Tiger’s Neighborhood.
To further add to the experience, my wife, mother-in-law and I cut stone-shapes from pastel-colored construction paper and mounted them to white poster paper rolled-out to resemble the roads from Daniel Tiger’s Neighborhood.
 The fully-built trolley from Daniel Tiger’s Neighborhood on a paper recreation of the road from the show.
I added one last surprise. I bought two EZ Sound Boxes from Amazon. On one I recorded the classic “ding ding” sound made by the trolley on the show, and on the other I recorded the theme song to the TV show.
My son (and his brother) loved it! It was totally worth the effort. When they got bored with it and started to do damage to it, I simply lifted off the cage and stored it away, freeing up the wagon for regular fun.
Thanks for the template Ian. I wasn’t sure where to start, but I knew someone had to have taken a stab at this before. I’ll share some pictures once ours is done. We’re doing a Daniel Tiger bday for our 3-year-old daughter.
Thank you for the inspiration, this is amazing!
Hi! Do you remember what length you used for the side pieces? I have the same wagon and it looks like your frame sits really nicely around the outside. Thanks!
Ack, I’m sorry Hanna, I just checked my original drawing and I don’t have it!
Hanna, I just found my notes from before I bought the materials!
Wagon: Body: 41.5″ X 18″ X 17.25″
2-year-old son while sitting = max 18” tall
Let’s say we need 30” of height.
Ten 10 verticals = 300” (25 feet)
Four 18” horizontals = 72” (6 feet)
Four 42” horizontals = 168” (14 feet)
So it looks like I started at 42″ wide. I can’t guarantee I didn’t make it shorter as I built it because it wasn’t sitting well enough, but 42″ is where I started.
Hope that helps!
I have been looking for a design like this for my 2 year old! It appears safe and sturdy and within my abilities! We are dressing up at the Tiger family for Halloween. This will be perfect. Approx how tall did you make the “cage?”
Hi Jillian, here is the scratch work I did before I bought the materials:
Wagon: Body: 41.5″ X 18″ X 17.25″
2-year-old son while sitting = max 18” tall
Let’s say we need 30” of height.
Ten 10 verticals = 300” (25 feet)
Four 18” horizonatals = 72” (6 feet)
Four 42” horizontals = 168” (14 feet)
So the answer to your question is 30″ tall.
Thanks!